
iMac G3 Cooling Modifications (Part II)

iMac G3 Cooling Modifications: Part II
In my previous iMac cooling article I detailed the cooling modifications made to my iMac G3 with the intention of prolonging it's life. After running this setup for a while I came across some issues, and found improvements that could be made.
When first performing these modifications, I knew the cooling gear I was using was cheap/low quality, and expected to replace it soon after. The Winsinn fans bought from AliExpress failed within ~1 week. Despite the low quality gear, they did a sufficient job and brought down the ambient temperature immensely.
Improvements
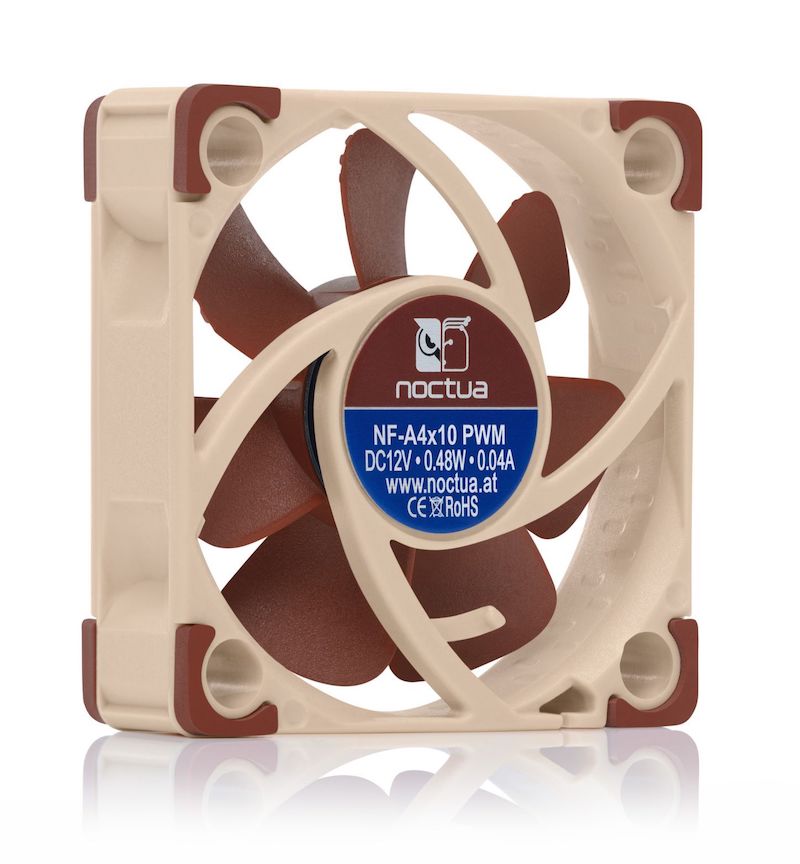
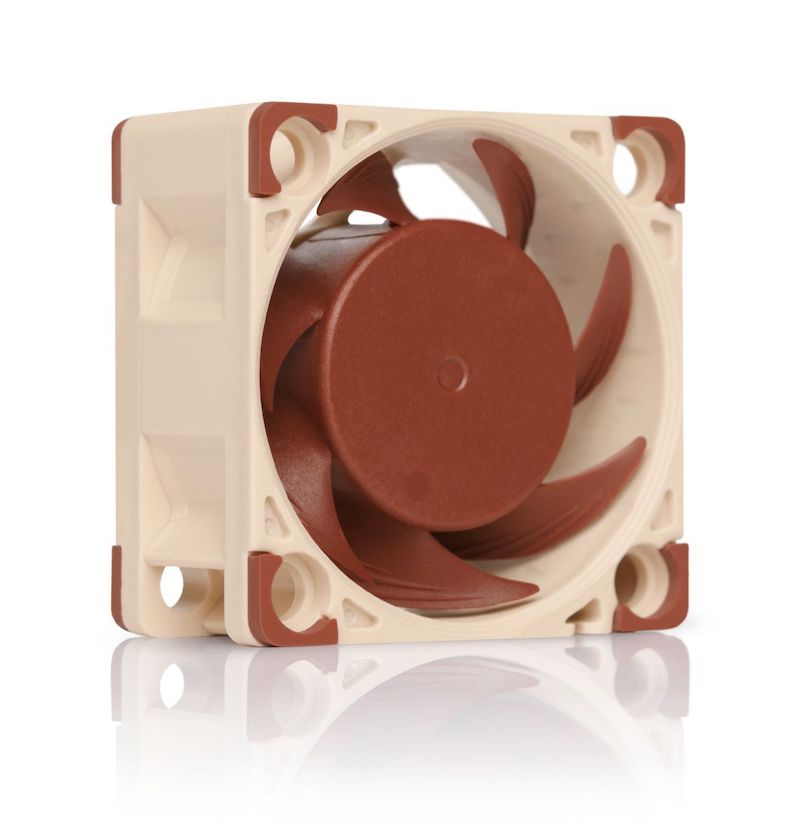
The cheap and noisy fans were no longer suitable so, I purchased 4x Noctua fans:
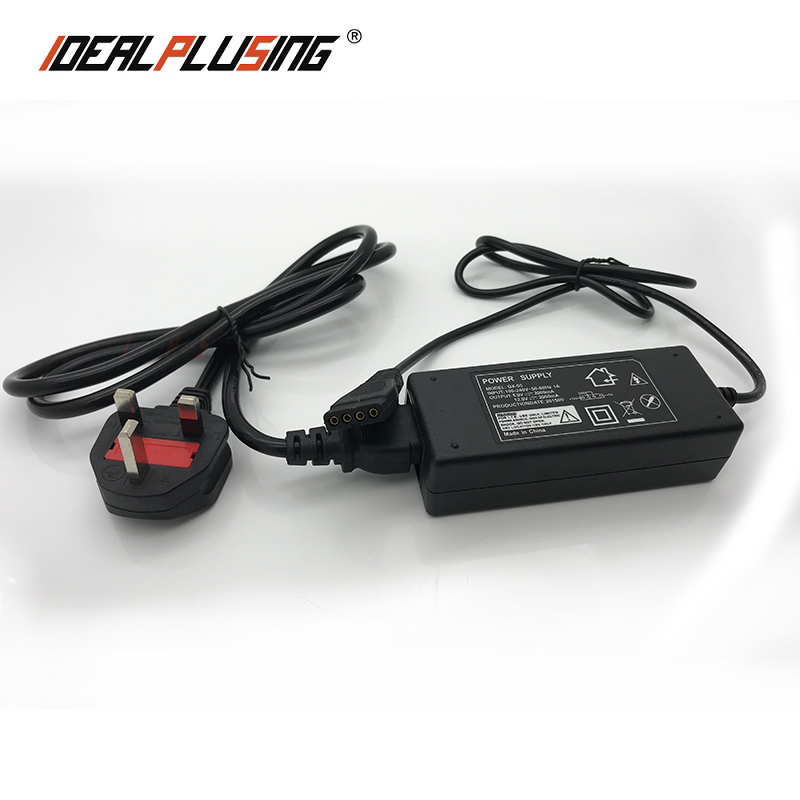
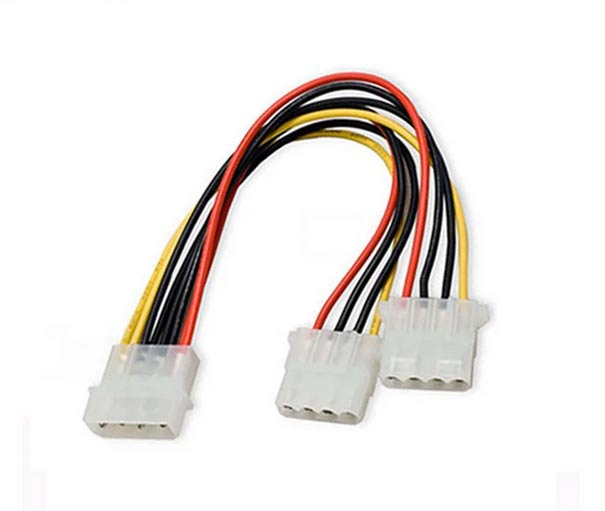
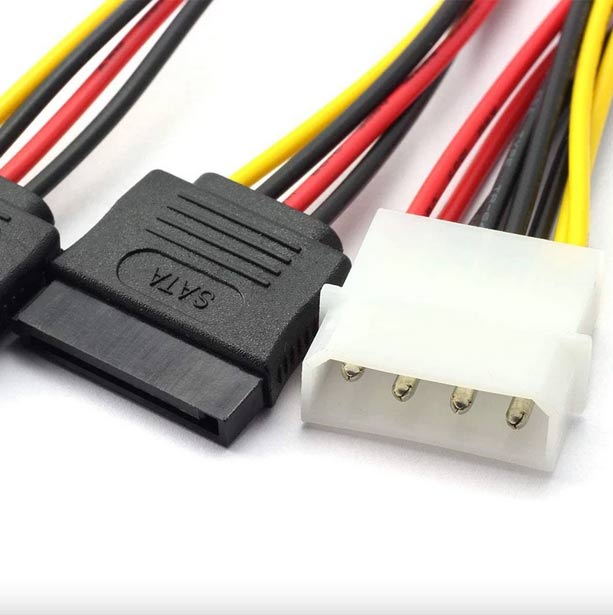
I also wanted to reduce the added strain on the iMac's power supply and purchased an external power supply for the fans. This is the only "cheap" part used in the project due to unavailability of a better quality alternative in New Zealand. For this I purchased a 4-pin molex power supply from AliExpress:
|

|
|
|
Installation
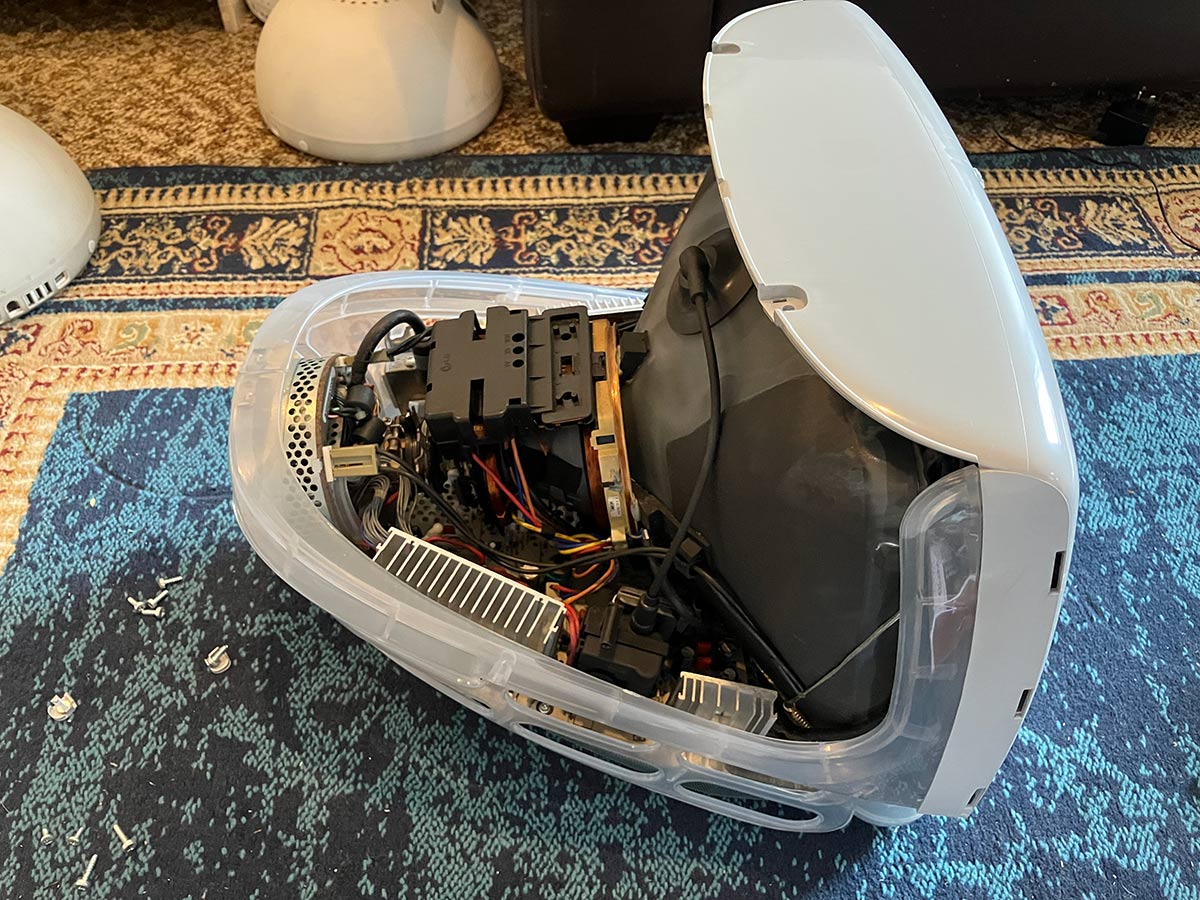
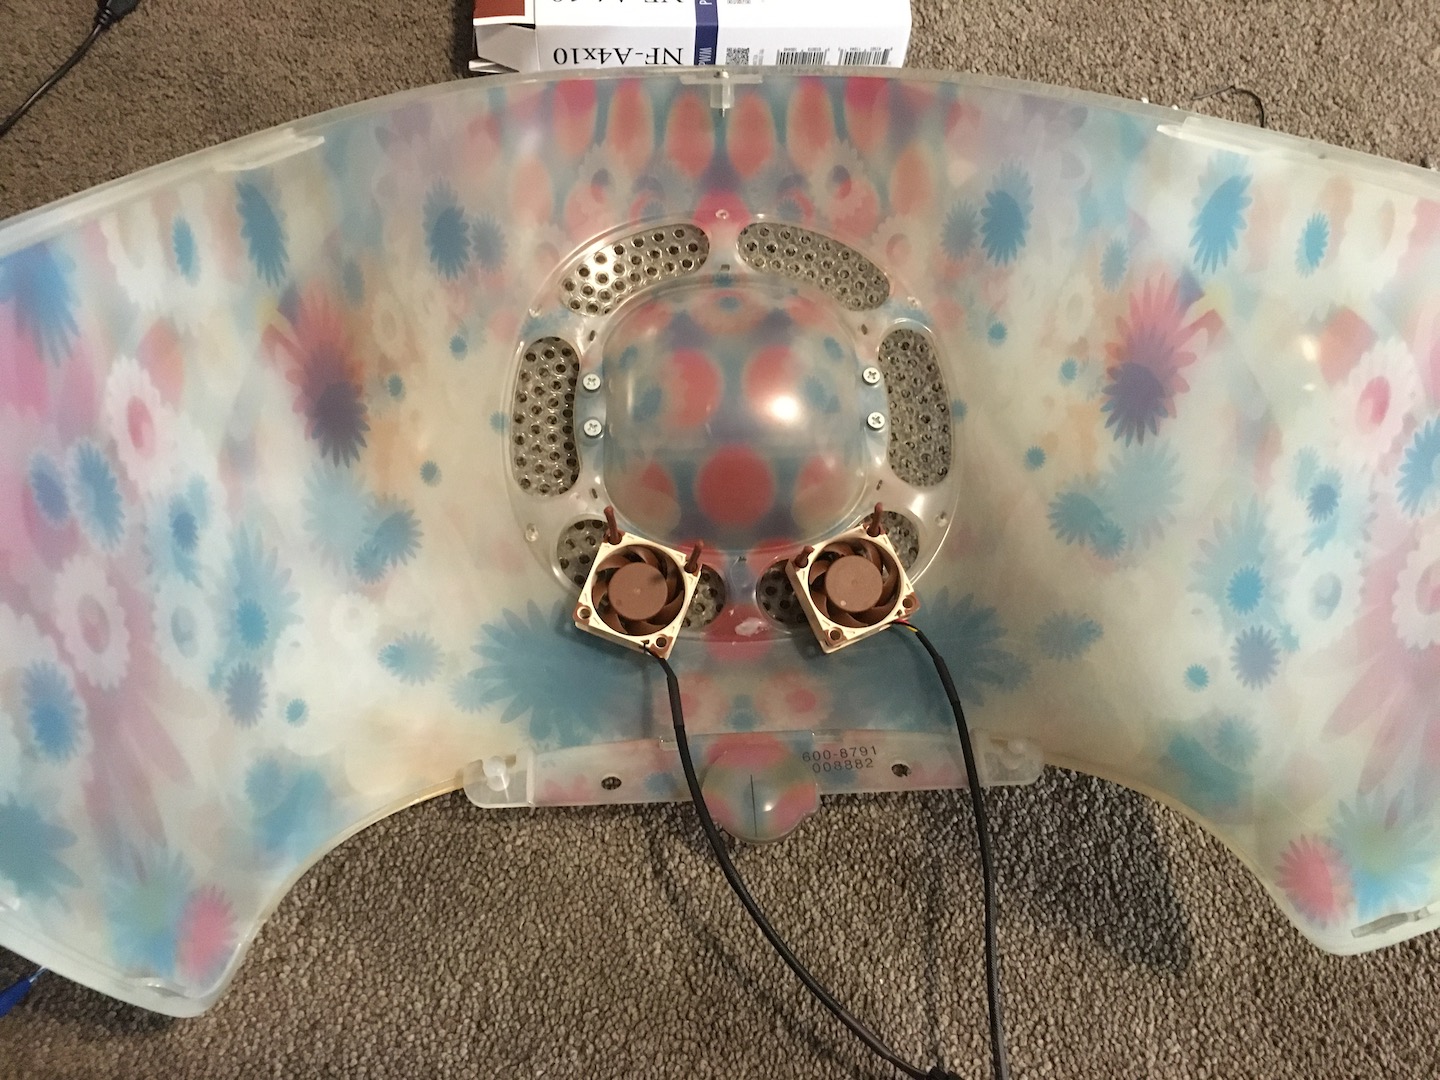
This time I wanted to cool the iMac properly and get more airflow through the case, so I decided to mount the two 20mm fans on the underside of the upper vent. This required dismantling the case and removing the shell, so I could safely install the fans without going near the CRT.
Note: if the plastics have become brittle in your iMac (very common), be prepared for some small breakages. Be extremely careful not to be too forceful and keep the iMac on a soft surface while working on it. Don't put too much weight on the top of the machine.
WARNING!
Extreme caution must be taken when working near CRTs. CRT power supply units can store enormous amounts of energy even after being unplugged and unused for a long period of time. An electric shock from one of these can kill you due to the extremely high buildup of current stored in the machine. Do not touch any of the power supply internals unless you know what you are doing and have correctly discharged the machine!
|
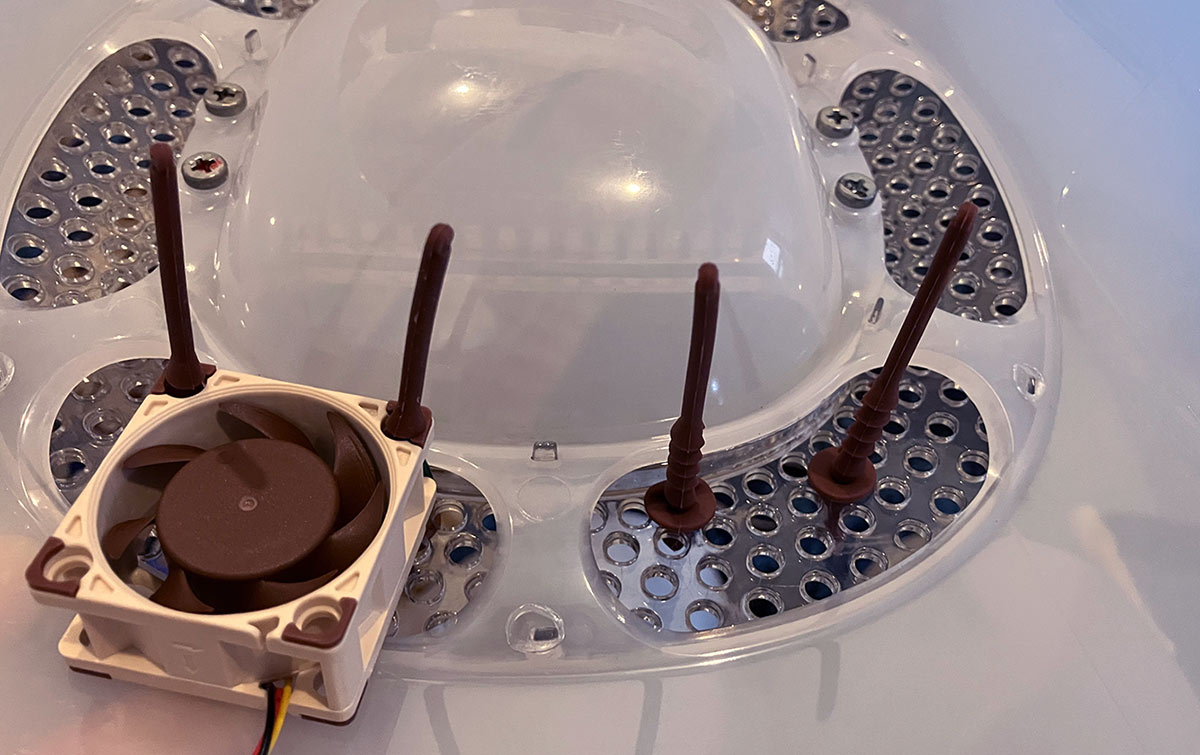
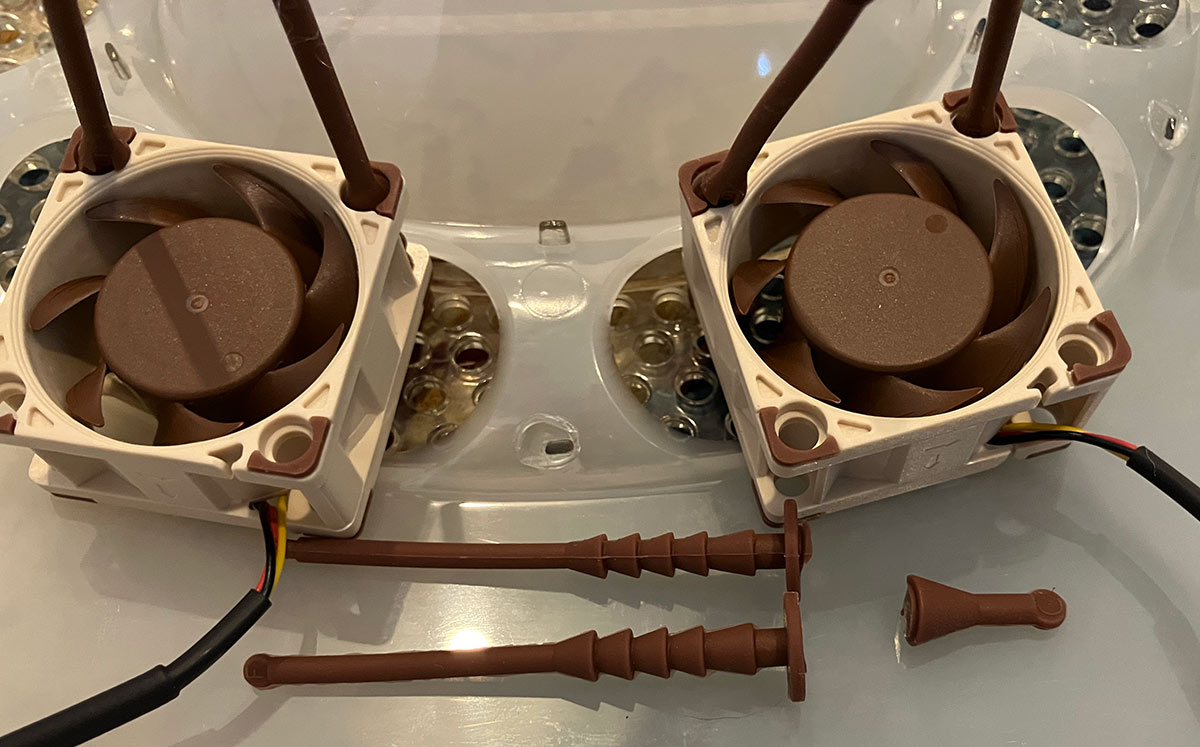
I secured the two vent fans by inserting the included rubber mounts into the case, then pulling the fans into them. When they were set in place I trimmed the outside part of the rubber mounts.
I also used the spare rubber mounts to thread through the lower screw holes, to reduce vibration where the fans come into contact with the case. This required trimming the end off the spare mounts, then pulling it through the fan.
The first fan mounts in place |
Both fans attached |
Removing mount ends to place underneath the fans |
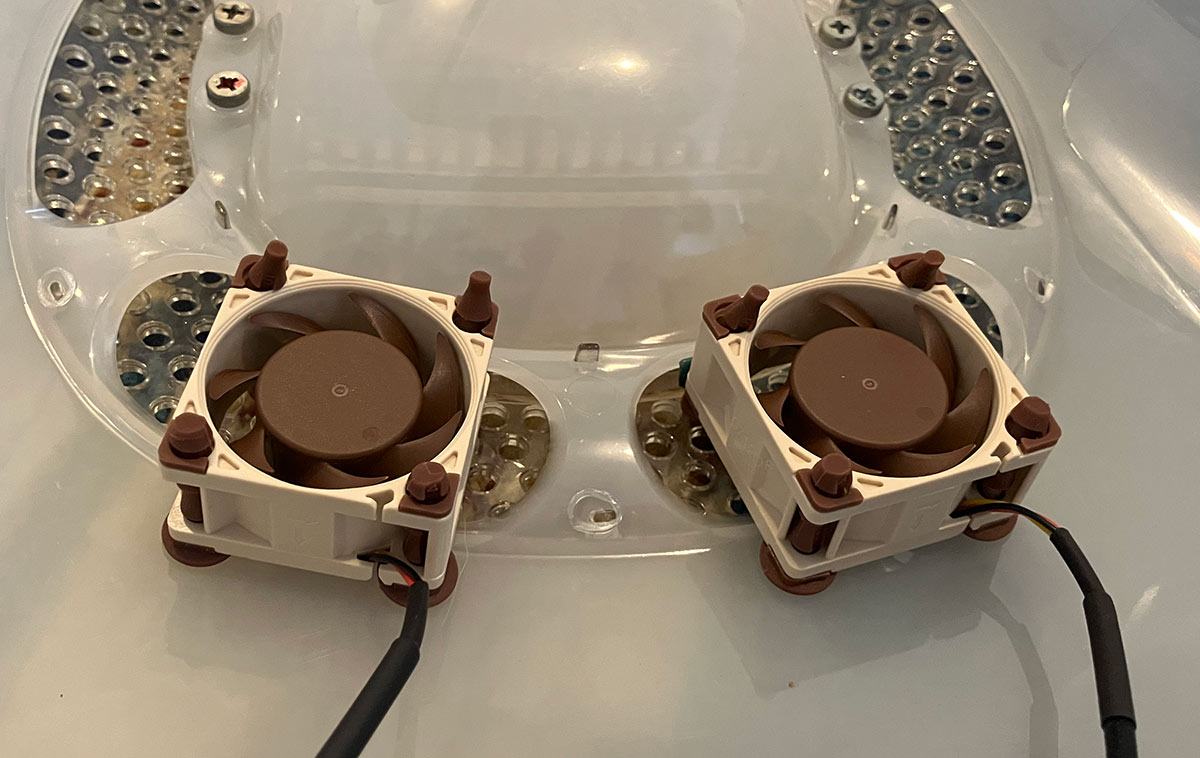
All mounts in place |
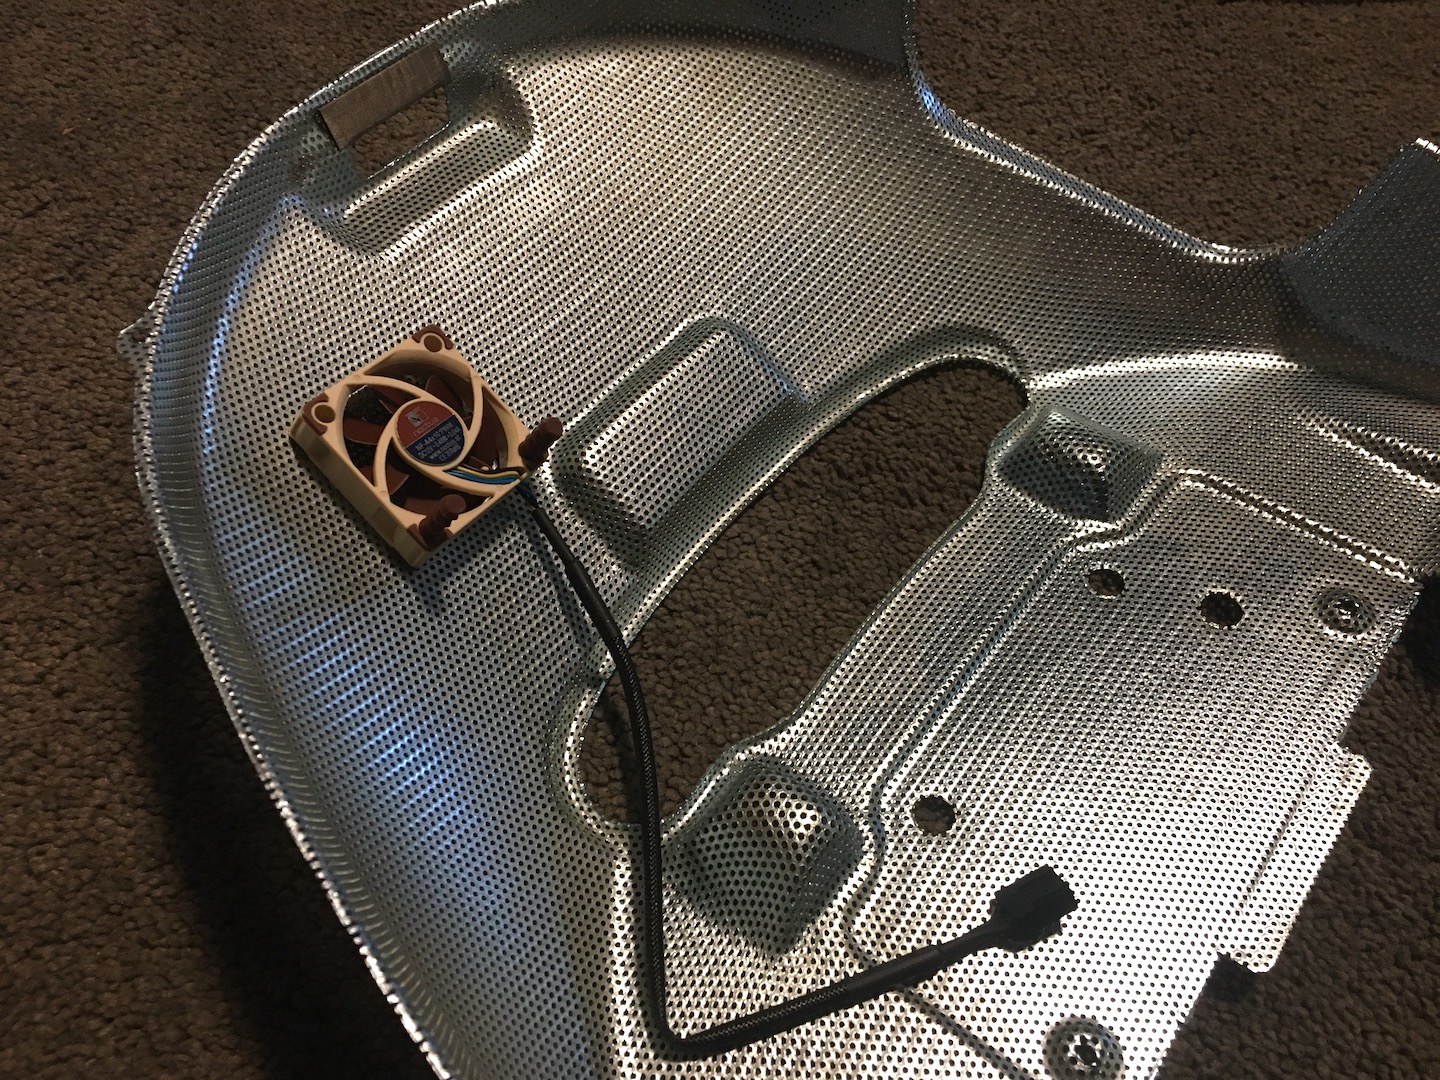
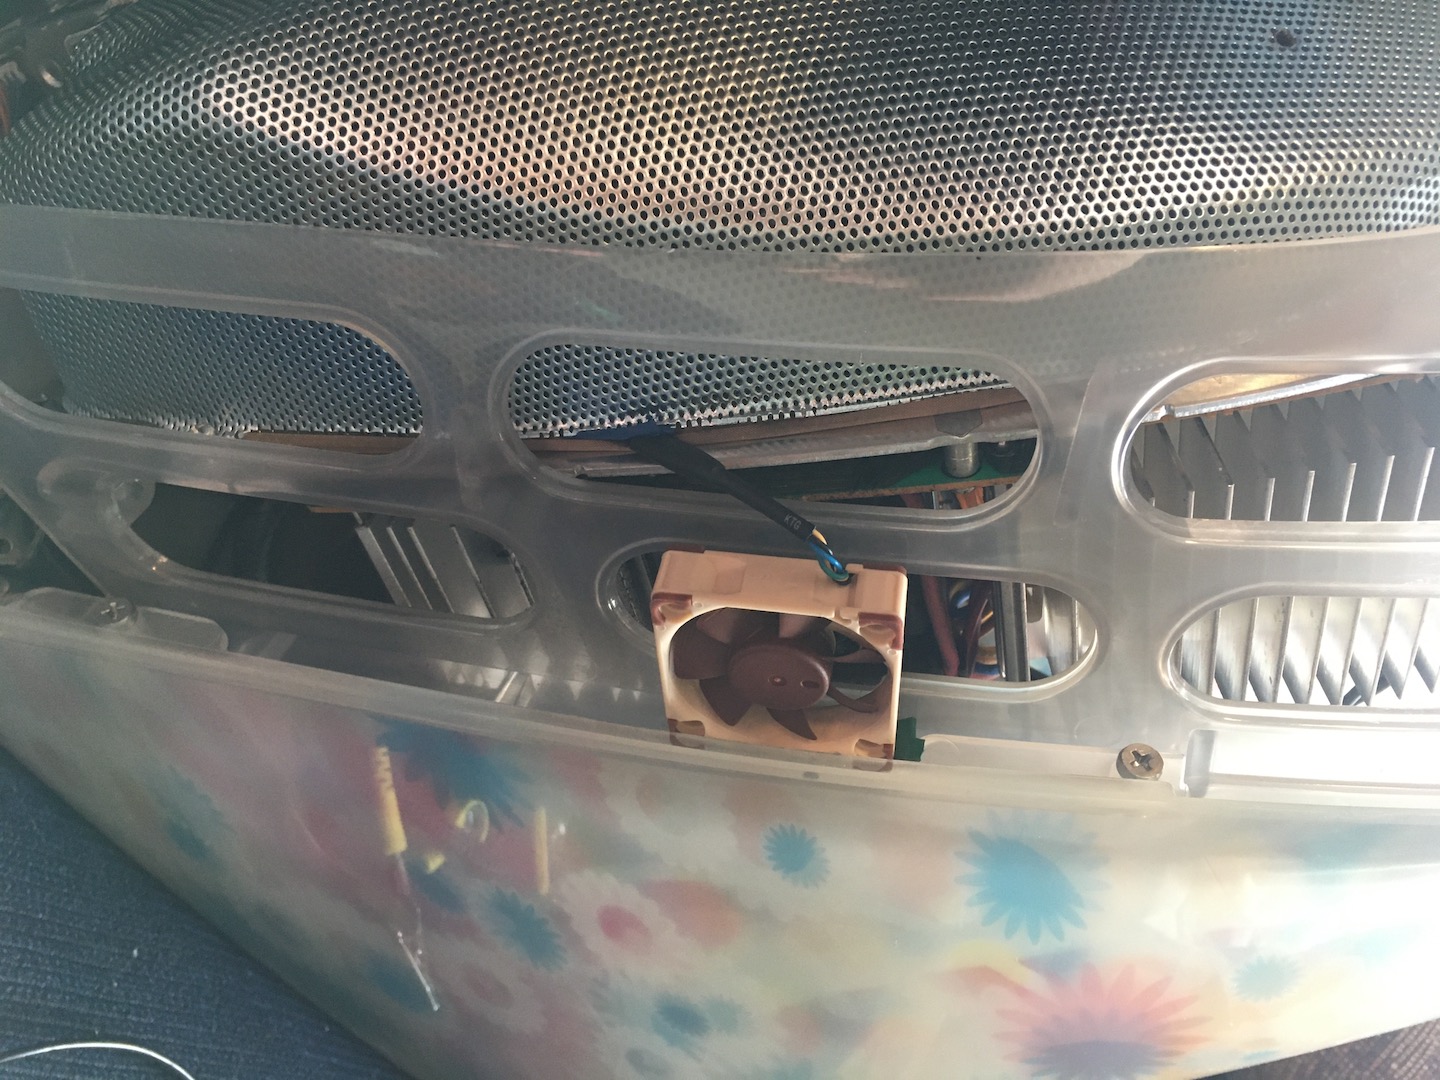
The only other fans I installed this time were the CPU/GPU fan, and one facing the flyback transformer (both 10mm). As mentioned in the previous post, the CPU/GPU fan draws air in from the lower vents, which then makes it's way through the case. The flyback facing fan doesn't have a lot of room to draw air from, but it's enough, and keeping this part as cool as possible was essential to me to prevent flyback failure (see iMac issues and care for more information).
I used the same rubber mount method as before when securing the CPU/GPU fan into the pre-drilled shield holes (which I made in the previous post). For the flyback facing fan there isn't much room but luckily the 10mm fan with it's rubber corners fits snugly inside the iMac's case.
|
|
|
Finishing
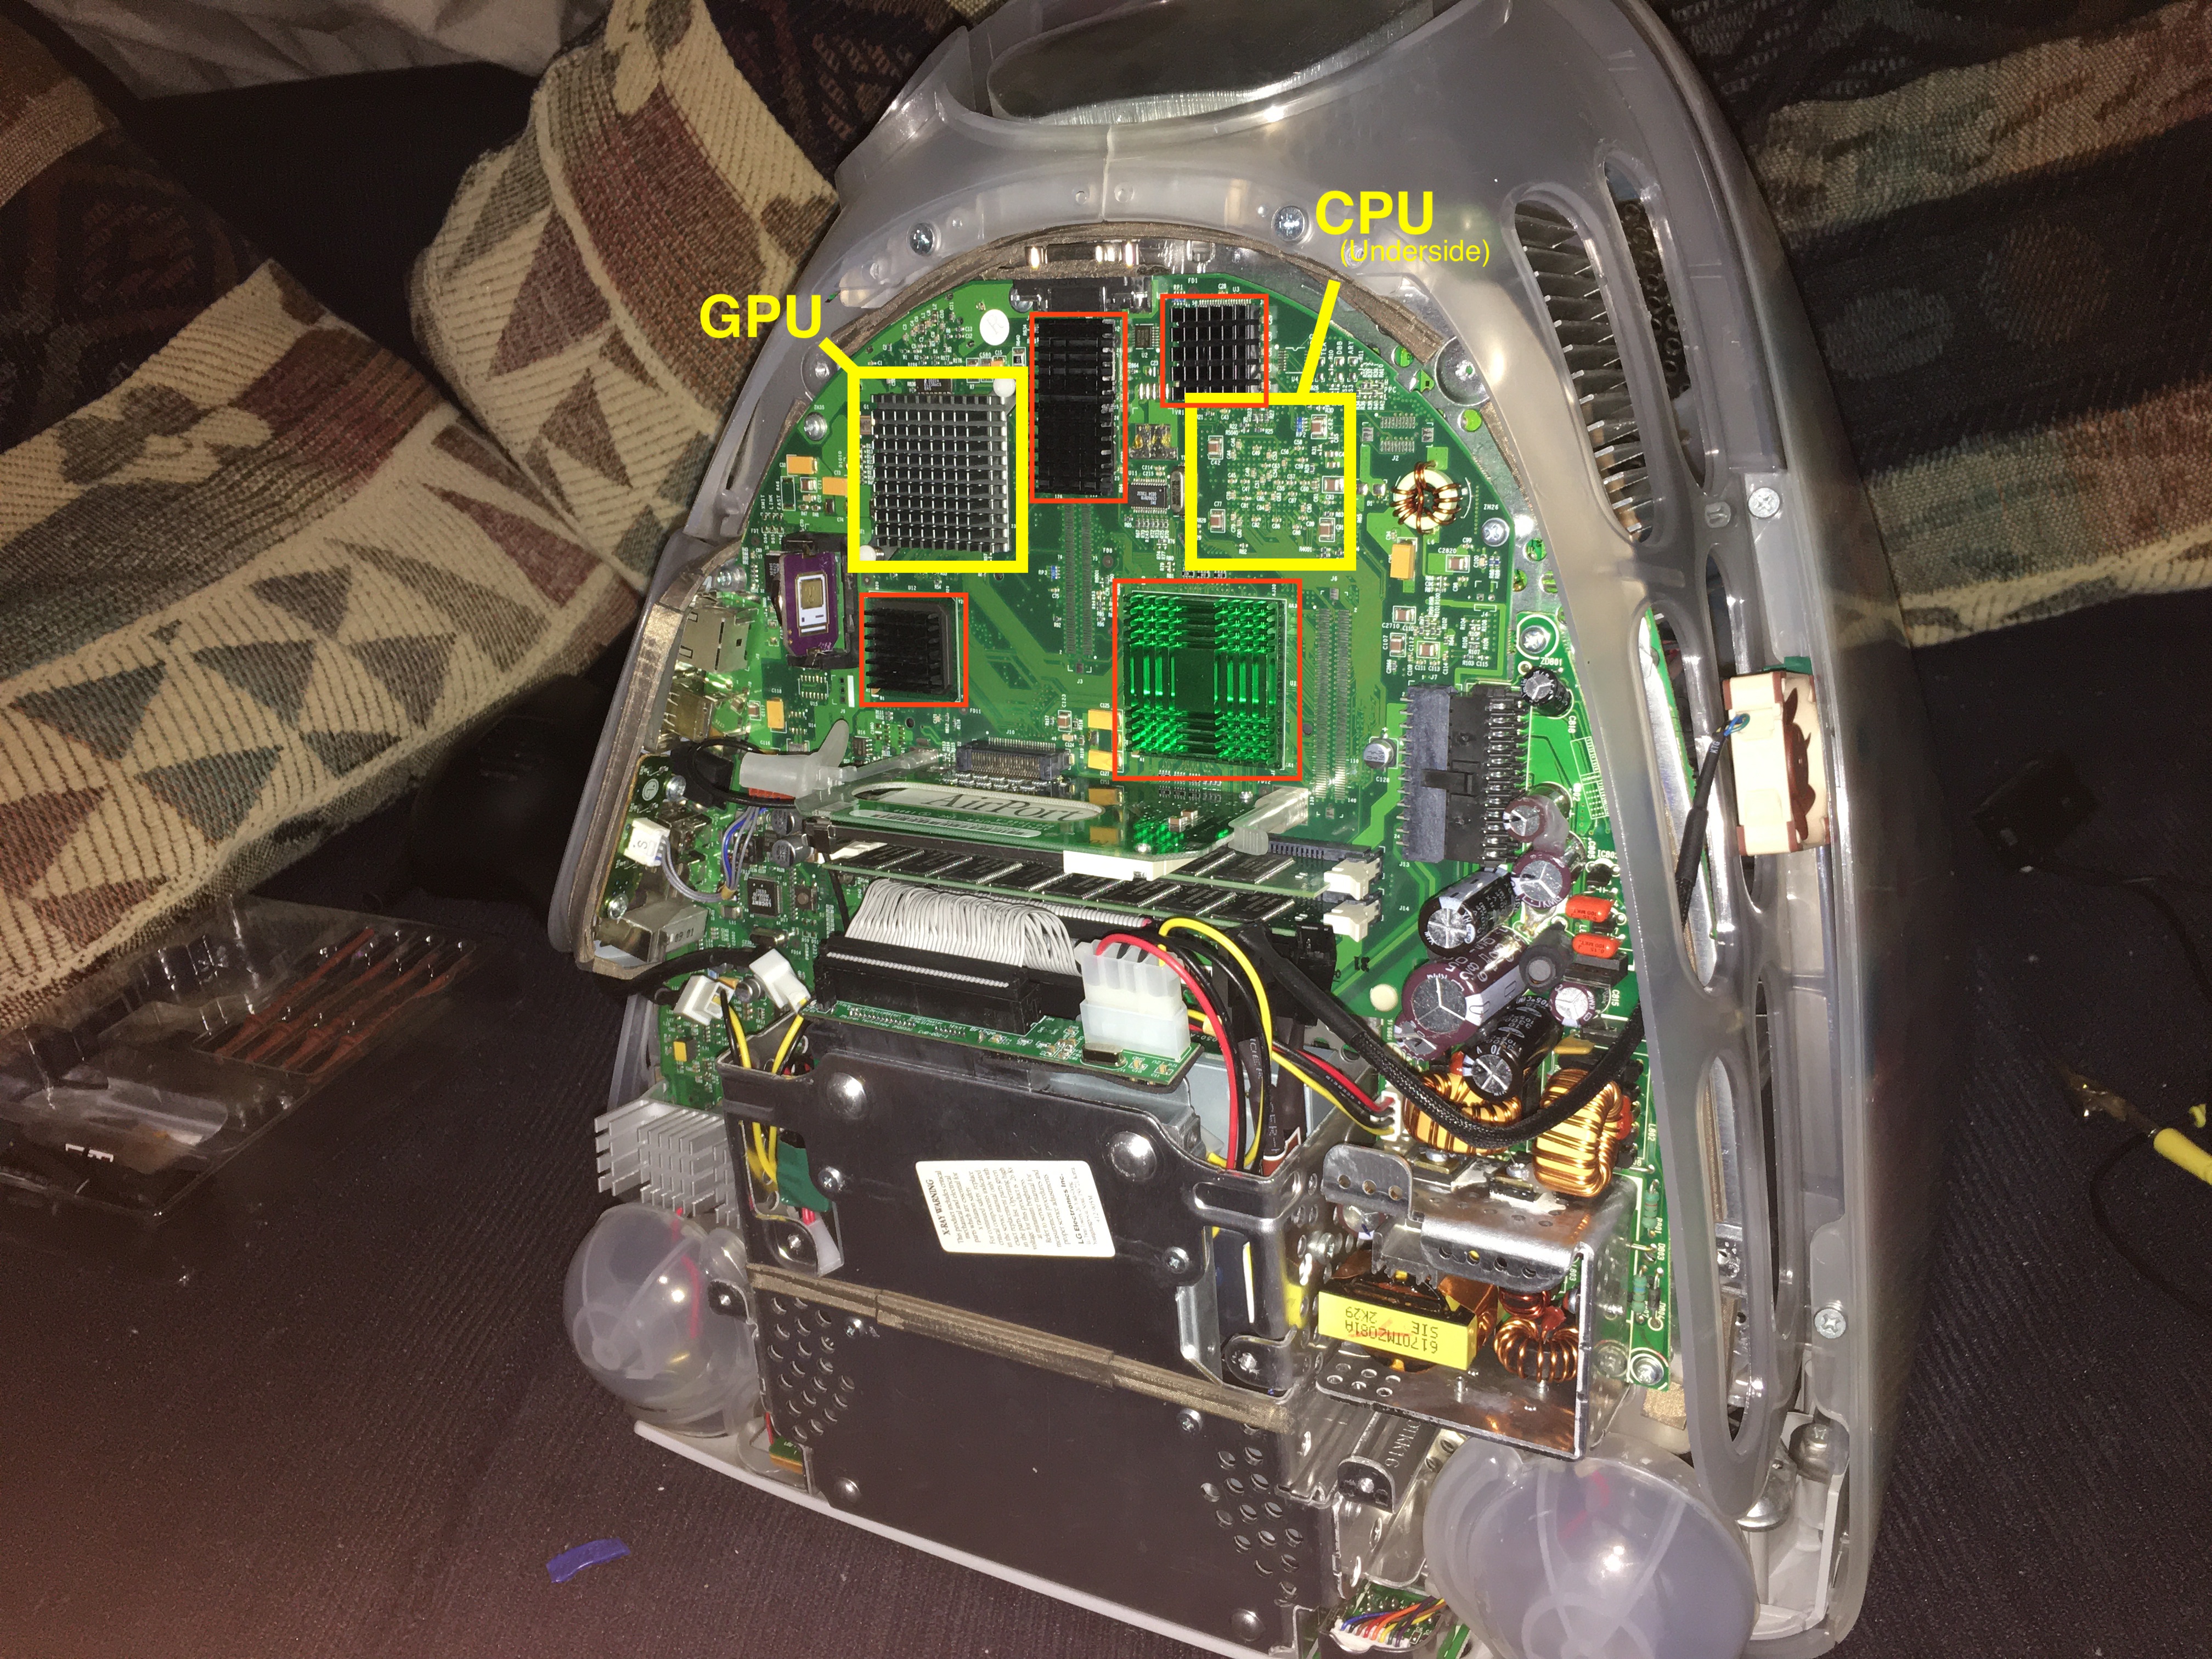
While I had the iMac open I also took the opportunity to air dust it, add some heat sinks to the GPU, cache and other chipsets.
|
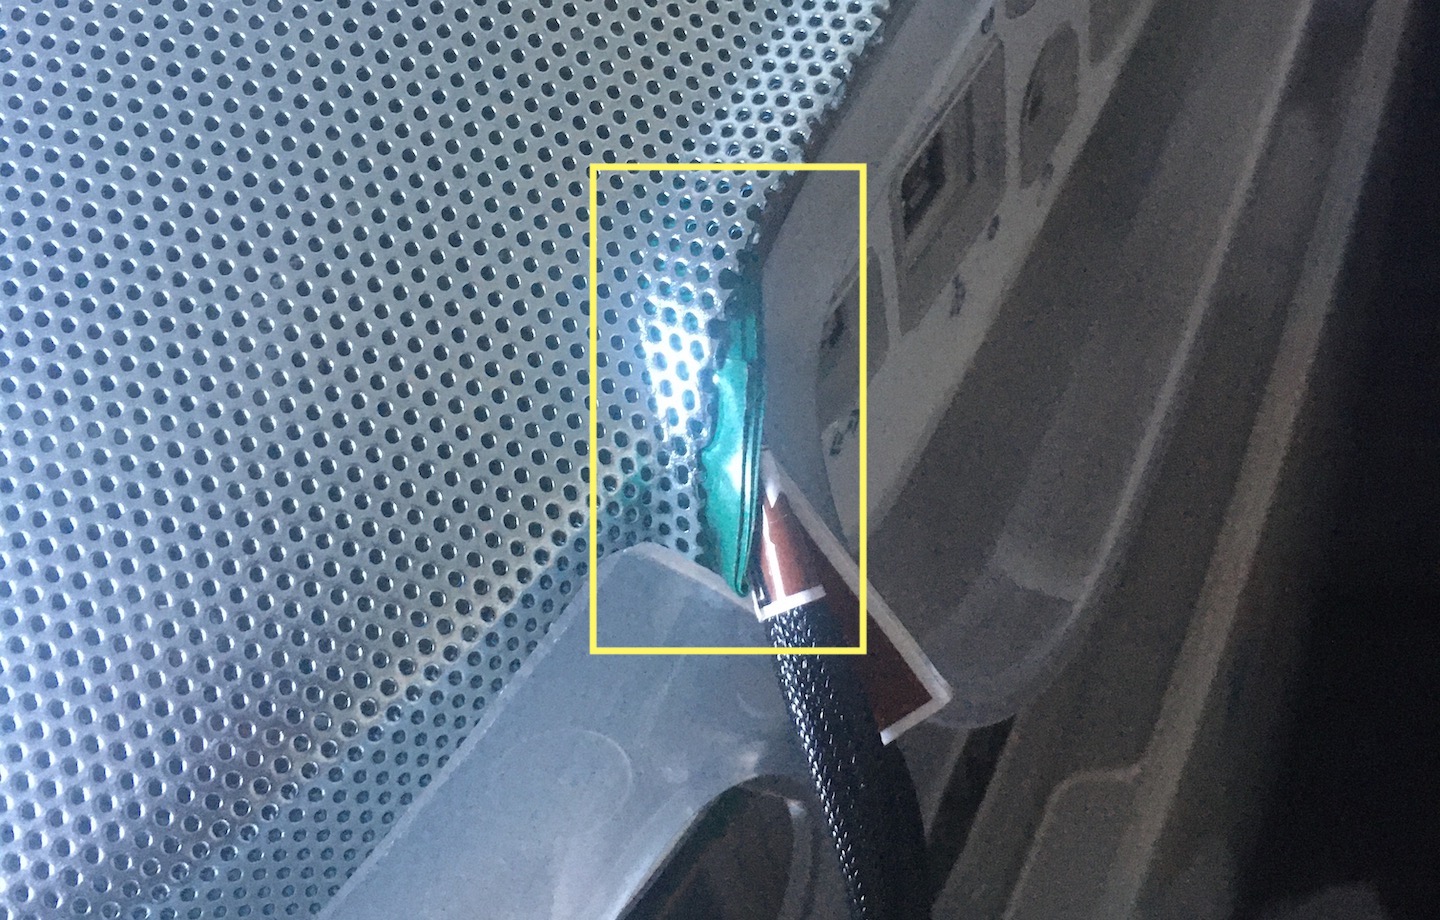
After securing the fans I placed folded electrical tape over all fan cables that the shielding would sit over to prevent any damage to the cables.
|
|
Wiring
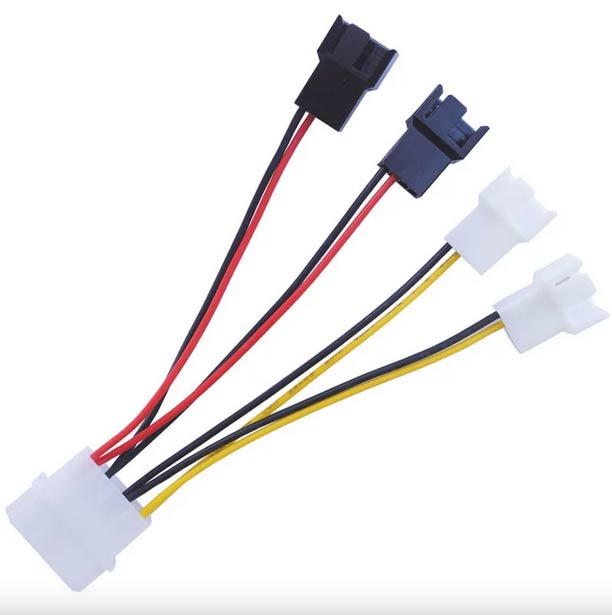
The cable extensions (included with the fans) should be used to extend the length of the vent fan cables so they can be pulled through to the underside of the computer. The vent fans should be powered with the two 12v fan connectors from the Molex splitter.
The CPU/GPU and flyback fans should be connected to the Noctua fan splitter cable.
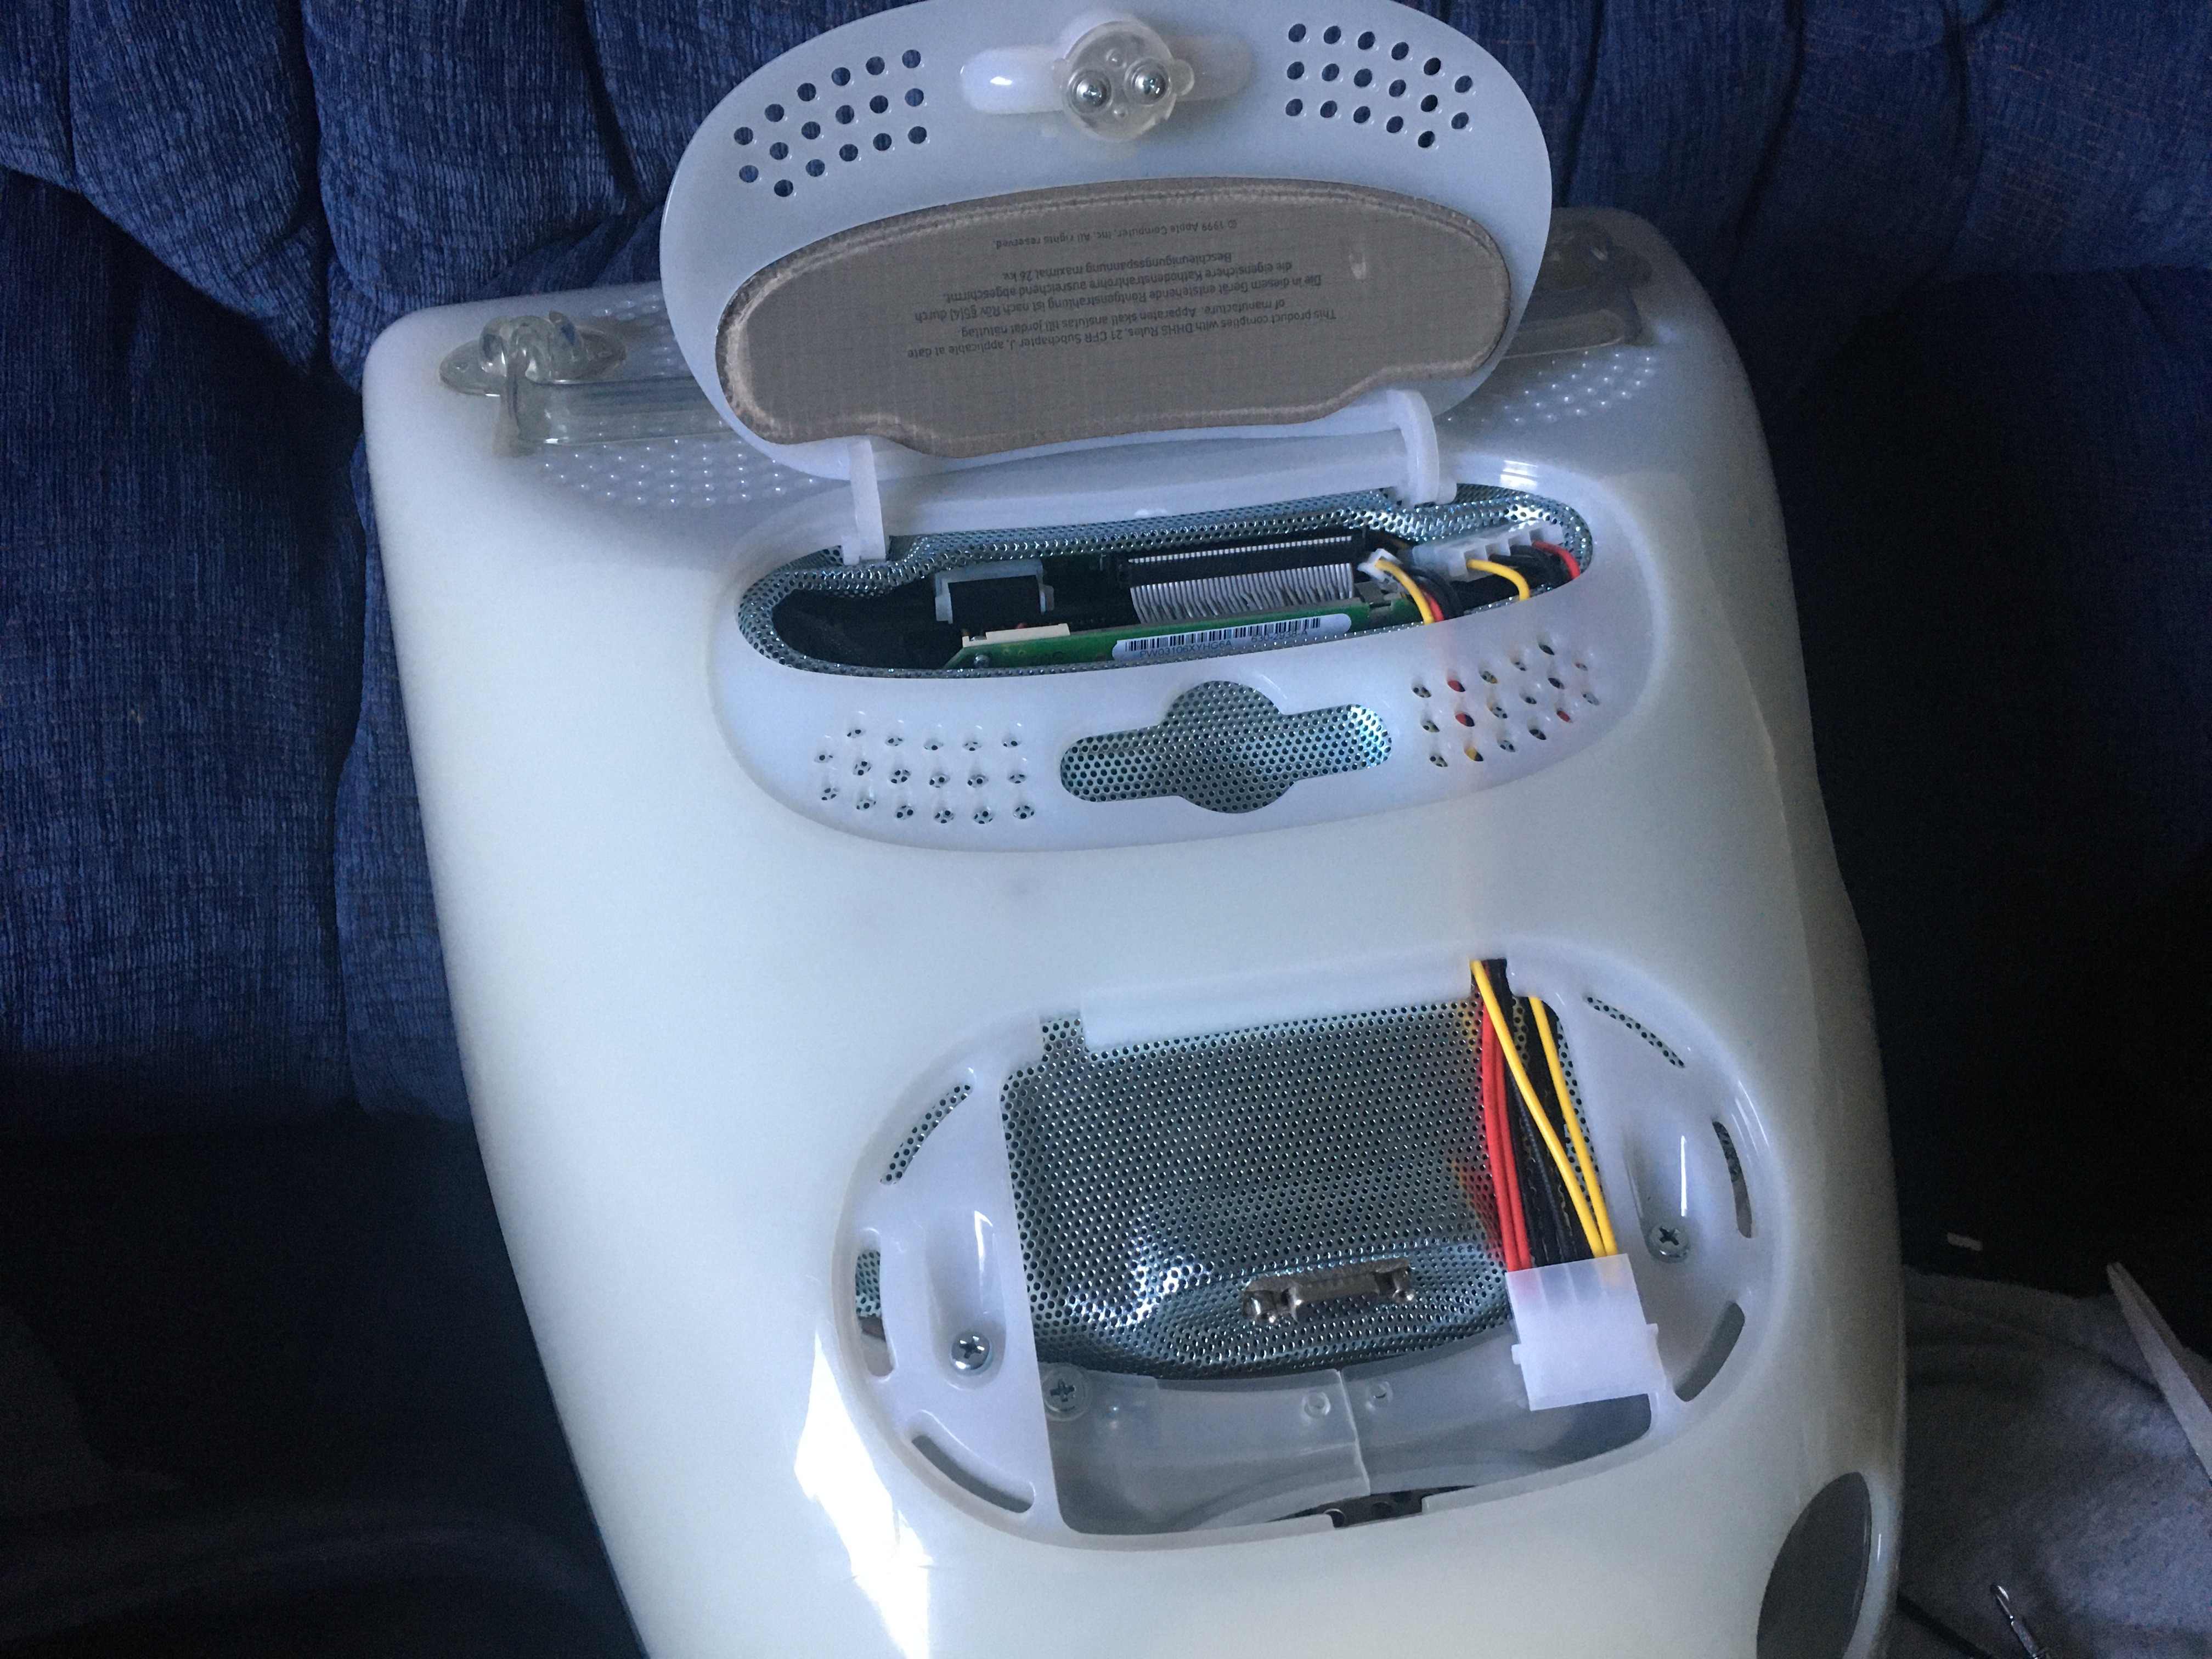
When putting the computer back together the excess cables should be carefully tucked into the CD/HD tray. This is much easier if you've installed a solid state drive.

Cables ready to be connected to the vent fans |
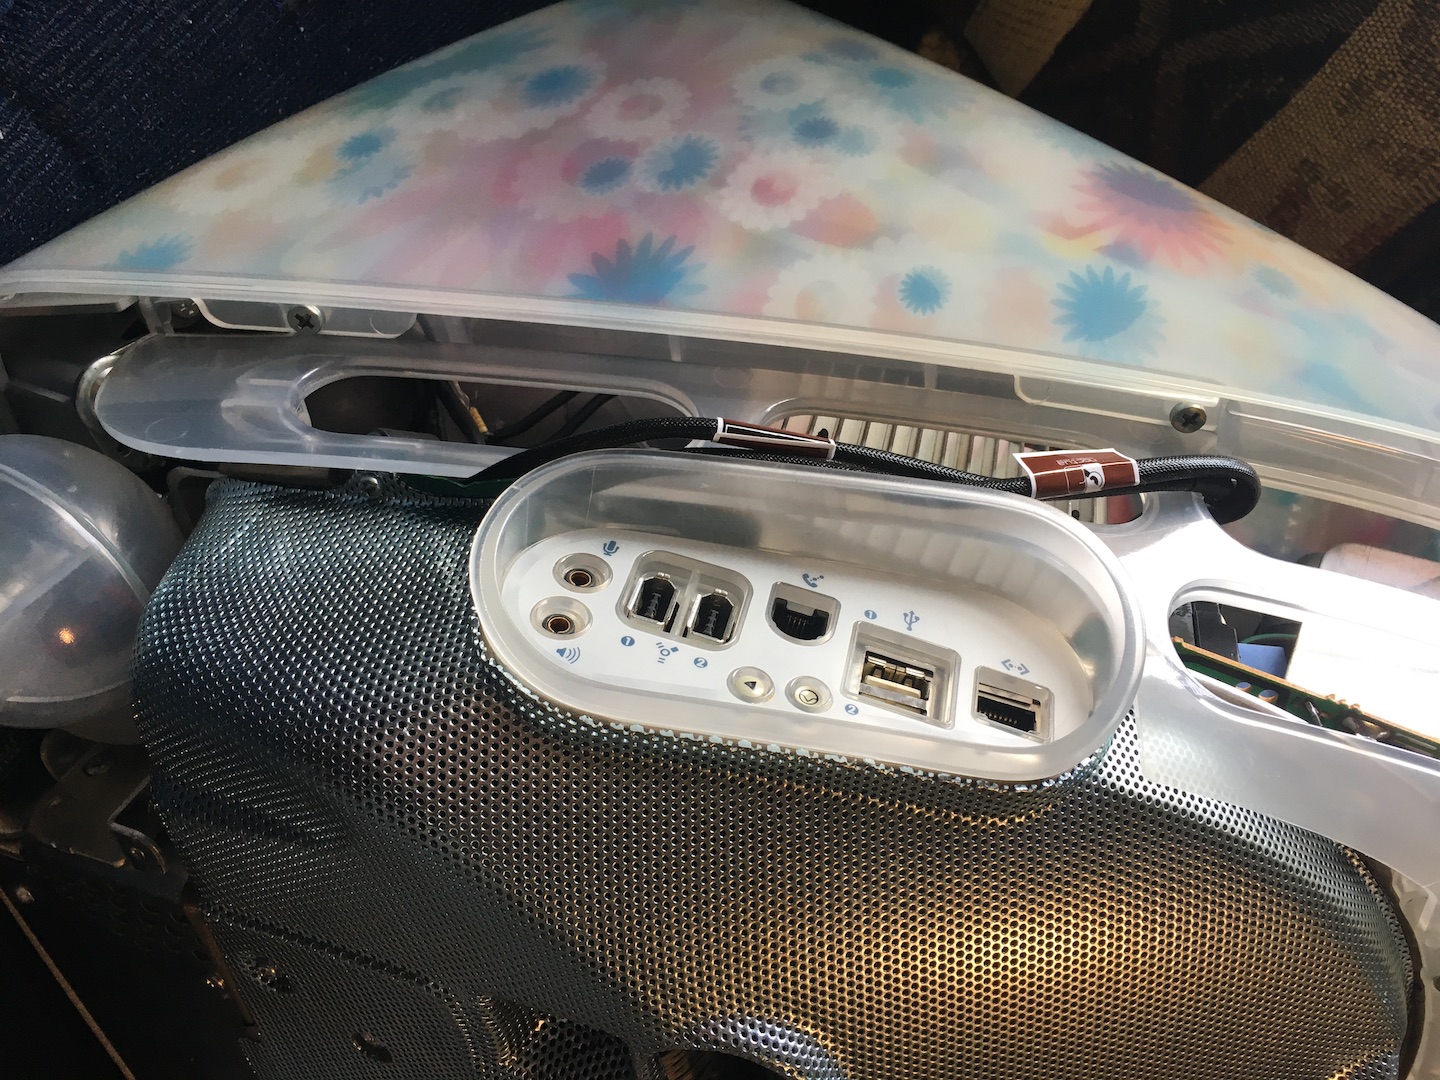
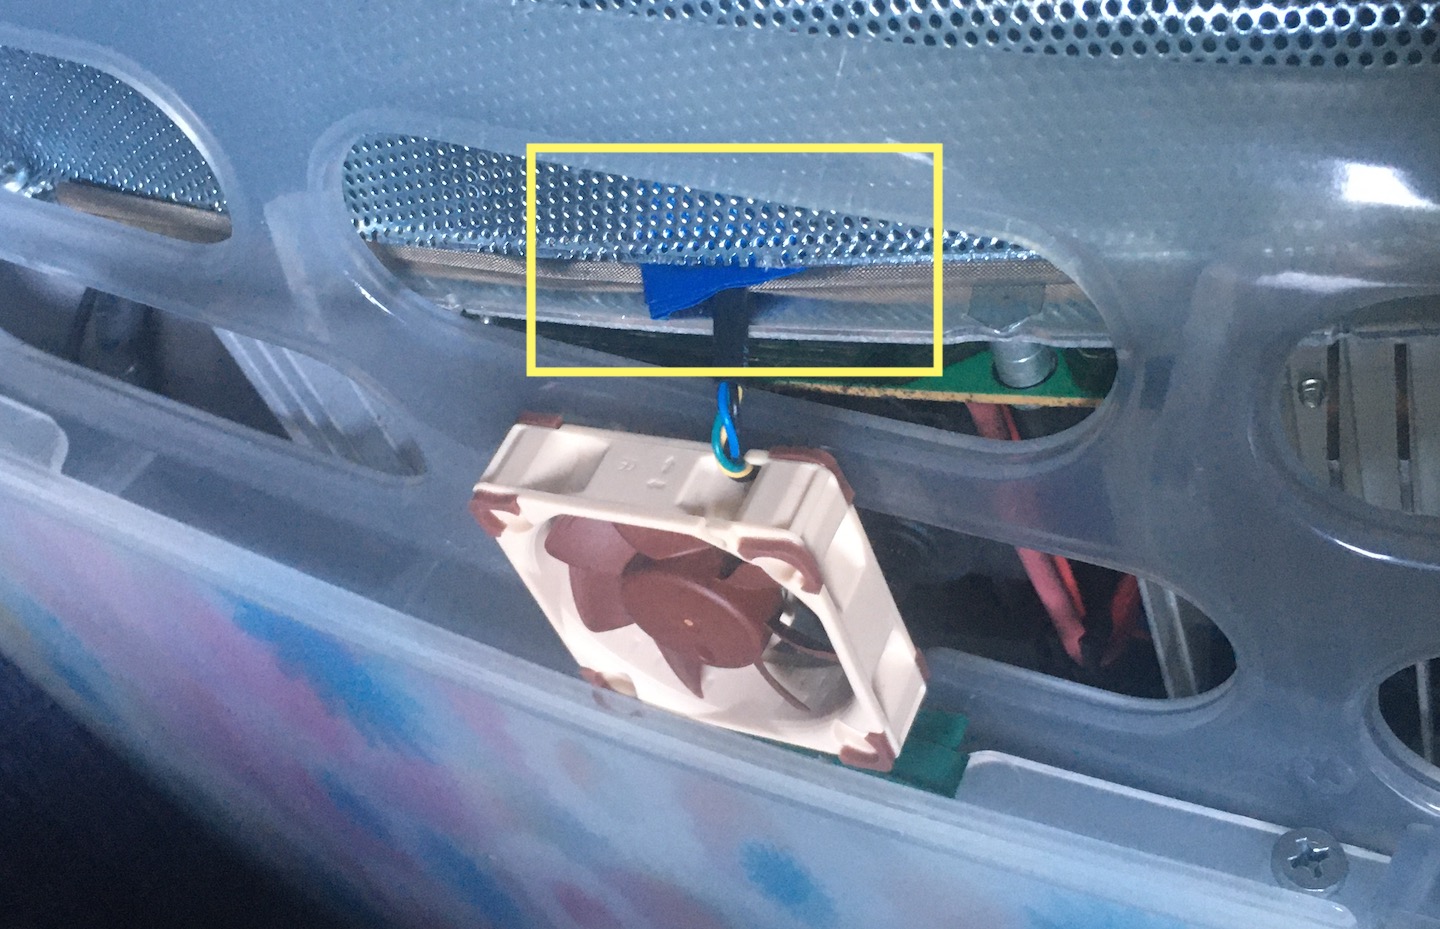
When fitting the case back together the Molex extension should be threaded through the external video vent so the power supply can be connected.
|
Conclusion
These modifications work extremely well. I have a digital thermometer within my iMac, and with the fans installed the ambient temperature doesn't rise above ~38 degrees Celsius while running a game like SimCity 3000 for 2 hours.
The fans are very quiet and I would compare the noise to running a G4 Tower (Not a MDD wind tunnel). When holding a hand over the top air vent there is a huge amount of air being pushed through which is fantastic.
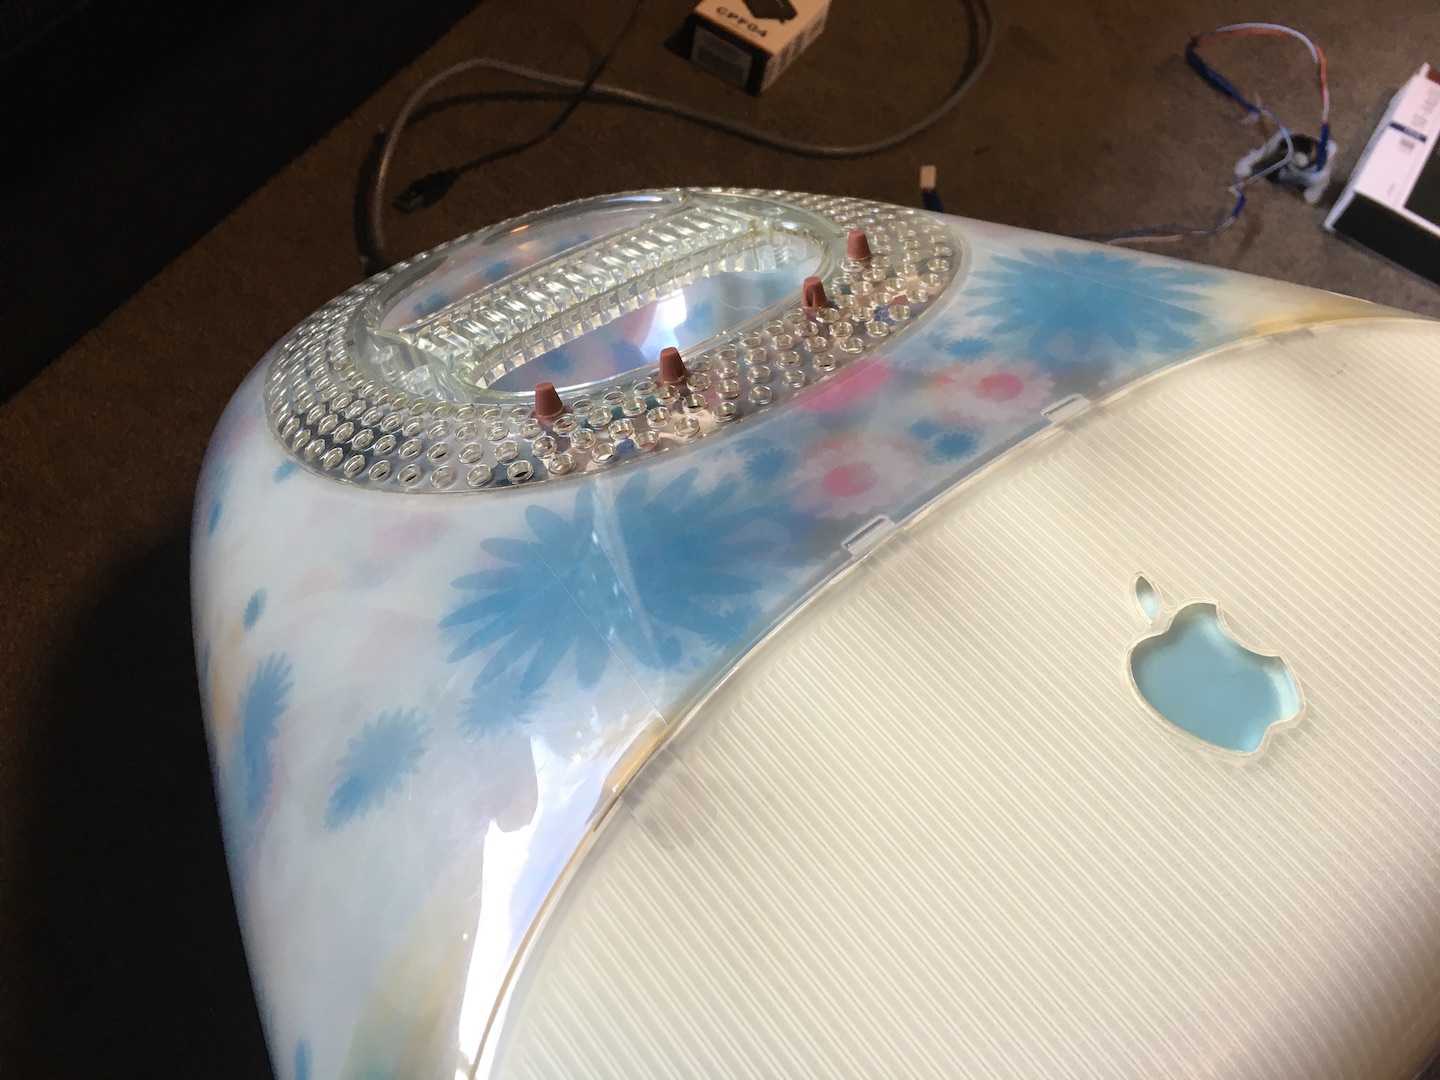
To top it off, the finished product looks great, the only thing to show that any modifications have been made are the small rubber mounts at the top of the vent. The only potential downside is that you must remember to turn on/off your external power supply when you turn on/off the computer. Although I believe this compromise is fine considering it is taking a decent load off the iMac's power supply/PAV board. I also like to leave the fans running for a short while after turning off the iMac to properly cool it down and ensure there is no trapped heat inside to cook it while it's off.
The Finished Product
|

|
Updated 2023-11-29
Related Pages
|
|
iMac G3 Cooling Modifications18 June 2022
The iMac G3 is prone to overheating issues over time. See how I installed several fans to help keep everything cool and to increase airflow within the case. |

|
iMac G3 Issues and Care07 May 2023
Information about the iMac G3, it's common issues, tips on preservation and repairs. |
Comments
Christopher Bartleson
31 August 2023
It looks like you can fit some larger fans on the metal mesh part to get more airflow in the case.
PermalinkGreystash - Admin
31 August 2023
There is actually a lot of room in there to play with. A bigger fan would be a good idea, there's plenty of vent space at the bottom to draw from.
PermalinkPost a Comment